


First it's a coat of white gesso on both side and all the edges. Make sure it's not too thick around the little tabs because the pieces are a snug fit.

Next is a bit of texture. This Tim Holtz stencil and Ranger texture paste created a quick and easy stone wall effect.

I tried spraying these with spray inks but my attempts at creating a graduated Autumn color effect failed so I covered them in another thin coat of gesso and started again with acrylic paints.

And this is what I ended up with:

I also painted the base, front casing and roof pieces with Burnt Umber, then started on the roof tiles. These were the rounded ends cut from wooden craft sticks (lolly sticks). I've got a bag full of 'em left over from other projects so they got a coat of white gesso too, then I painted them - mostly using Burnt Sienna but a few red ones and Yellow Ochre ones as well.

Then I started layering them on the roof pieces until they were both covered. Once the glue had dried I added some shading with black acrylic then used some cast bronze Creative Expressions gilding wax to give the tiles a warm glow.


Once I'd cut the lining pieces to size I stamped the back piece using one of Graphic 45's Enchanted Forest stamps and a clock face in Archival sepia ink then used the Walnut Distress Oxide ink to blend around the edges before gluing the card stock in place.

I added a cut out quote from Ray Bradbury's 'The Halloween Tree' then I was ready to assemble the little house.


Next it was Pumpkin Time - Yay!! and I glued in some little polymer clay pumpkins I made years ago and still had in a drawer, interspersed with a few snippets of Finnish moss. I forgot to photograph that stage, but you get the idea, I'm sure.
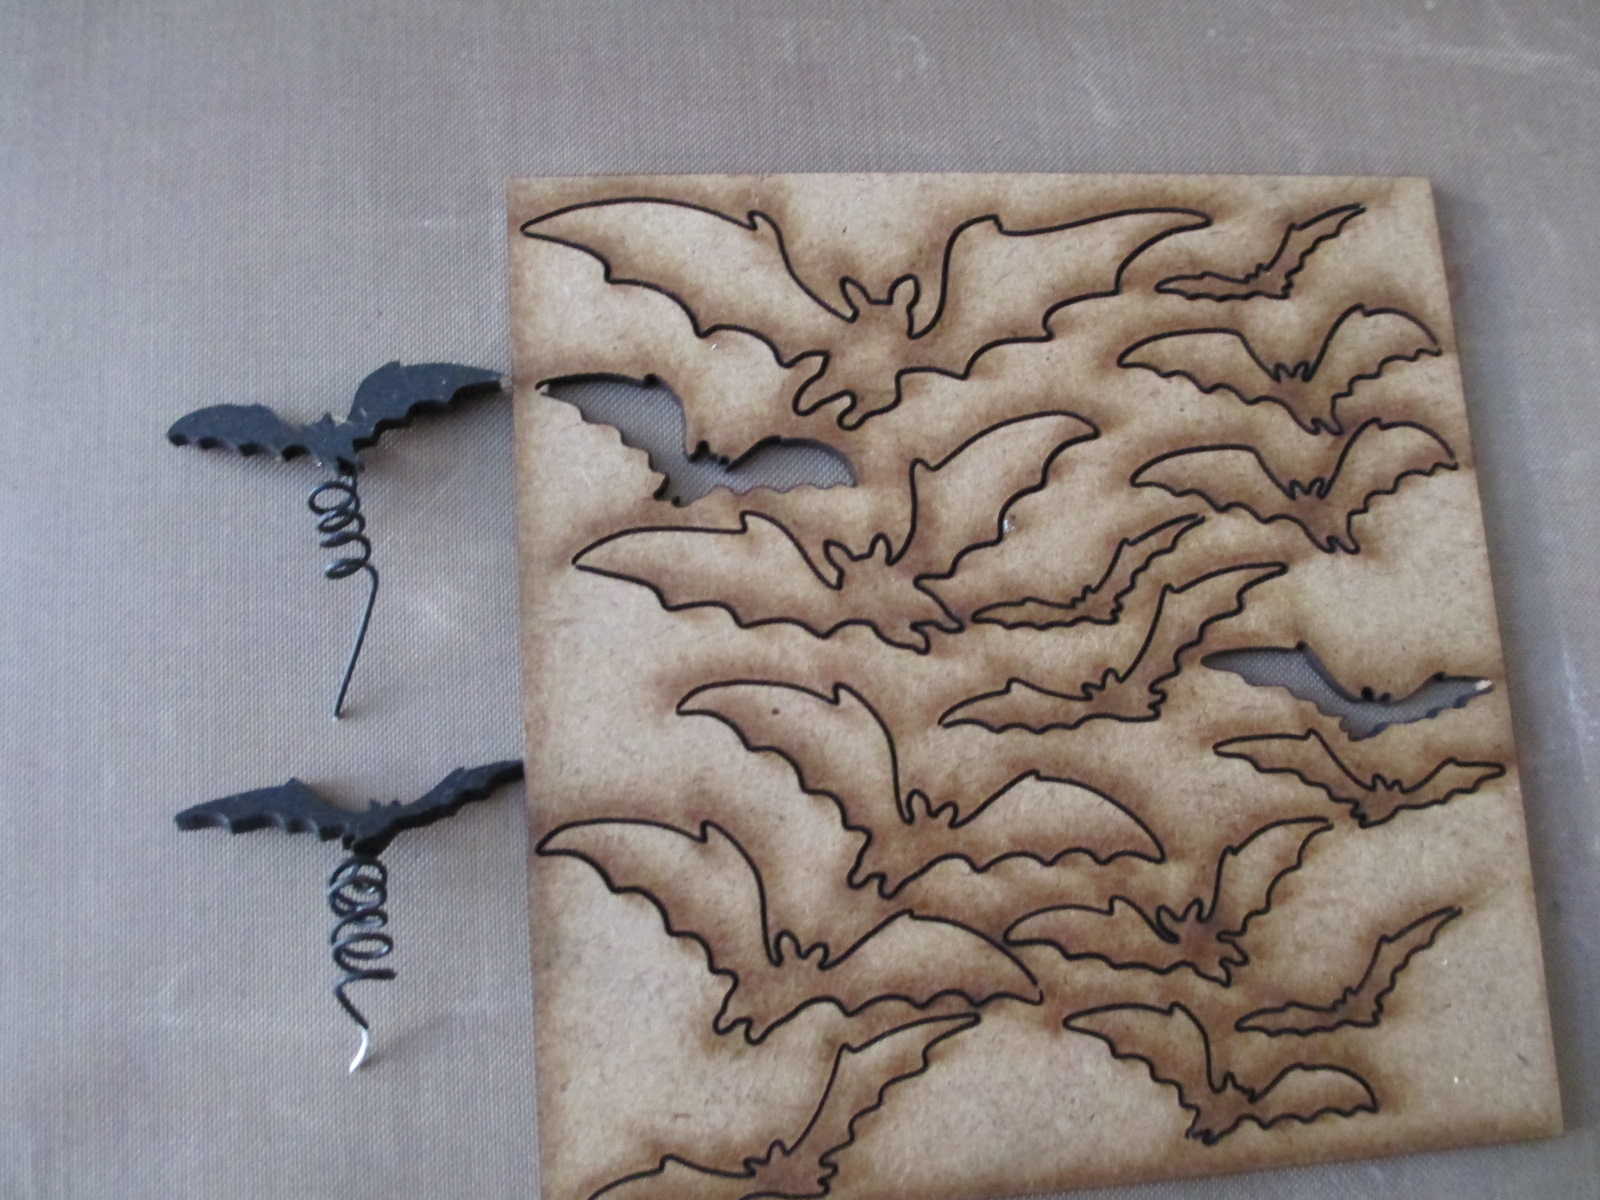
After that it was all down to the little embellishments and here I used some more pieces from Calico Craft Parts. Bats, which come on a sheet with 16 different sizes and positions, and ivy garlands which are tiny and so delicate. The bats were painted with black gesso and had a coil of paper covered wire attached to the backs with Ranger's Glossy Accents.
And the ivy was coated in white gesso then painted with acrylics.

These were all added to the house with glue and left to dry. Meanwhile I went back to the Oxide inked papers I made earlier and used a couple of leaf shaped paper punches to cut of some Autumn leaves. These were inked around the edges with Knotted Wood and English Ivy Prima chalk inks and I drew veins on with fine tipped colored pens. These were glued around the roof along with some little black crystals and some red, gold and green micro beads. I finished it off by adding some more gilding wax to the stone work and set the whole thing on a wooden bobbin.


Oh, and did I mention....the pumpkin faces glow in the dark :)
